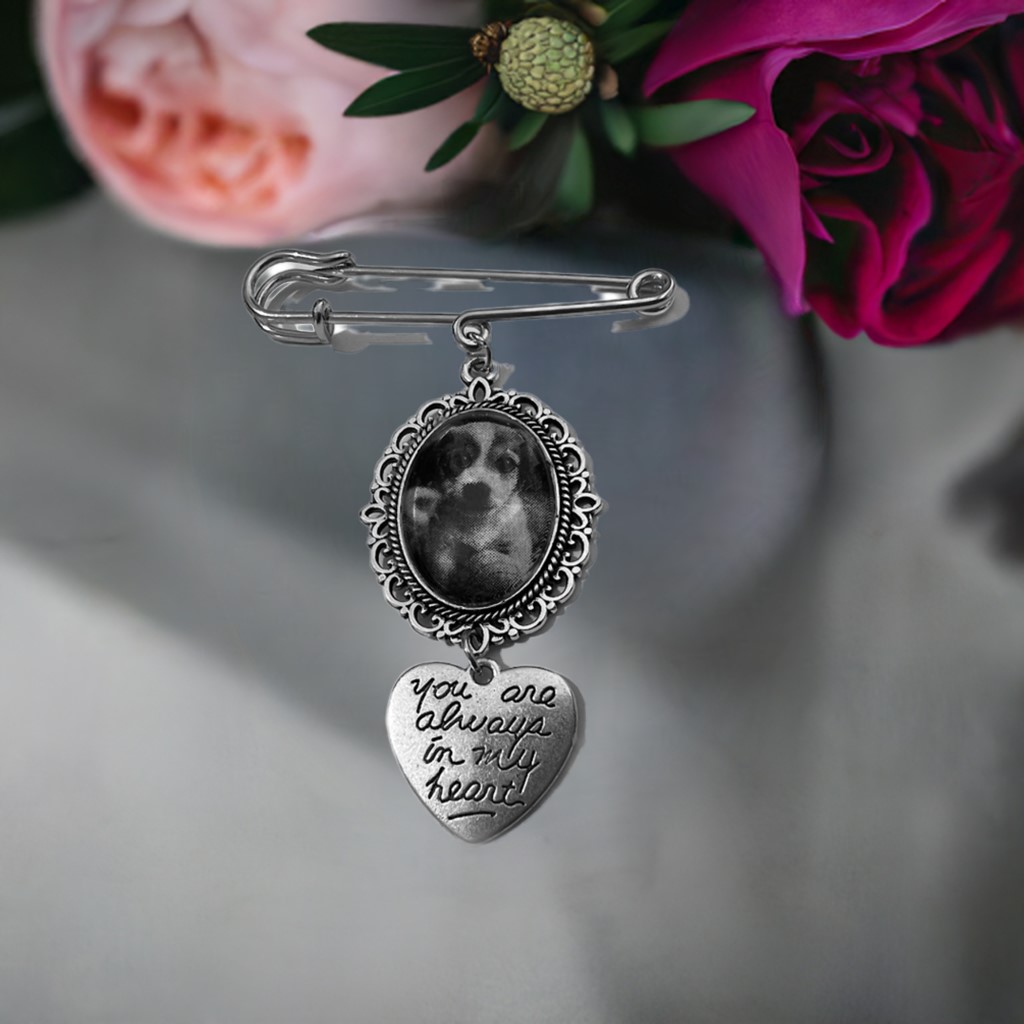
How to Assemble Your Wedding Bouquet Charm: A Step-by-Step Guide
Posted by Georgina Bennett on 5th Sep 2024
Adding a personal touch to your wedding bouquet is a beautiful way to honour loved ones or include sentimental elements in your big day. Our wedding bouquet photo memorial charms are the perfect accessory to add this meaningful detail. Follow this simple guide to assemble your bouquet charm and create a heartfelt keepsake you'll treasure forever.
What You’ll Need:
Your bouquet charm kit (available in single, double, or triple options)
A small photo of your loved one(s)
Pencil
Scissors
Clear drying craft glue like aquadhere
Step-by-Step Instructions:
Choose photos that hold special meaning to you. This could be of loved ones, pets, or any cherished memory you’d like to carry with you. Print your chosen photos in sizes that fit your charm frames.
You may find it helpful to create a paper template to ensure the photo is the correct size. Simply place a piece of paper over the charm and lightly shade over it with a pencil to trace the size outline.
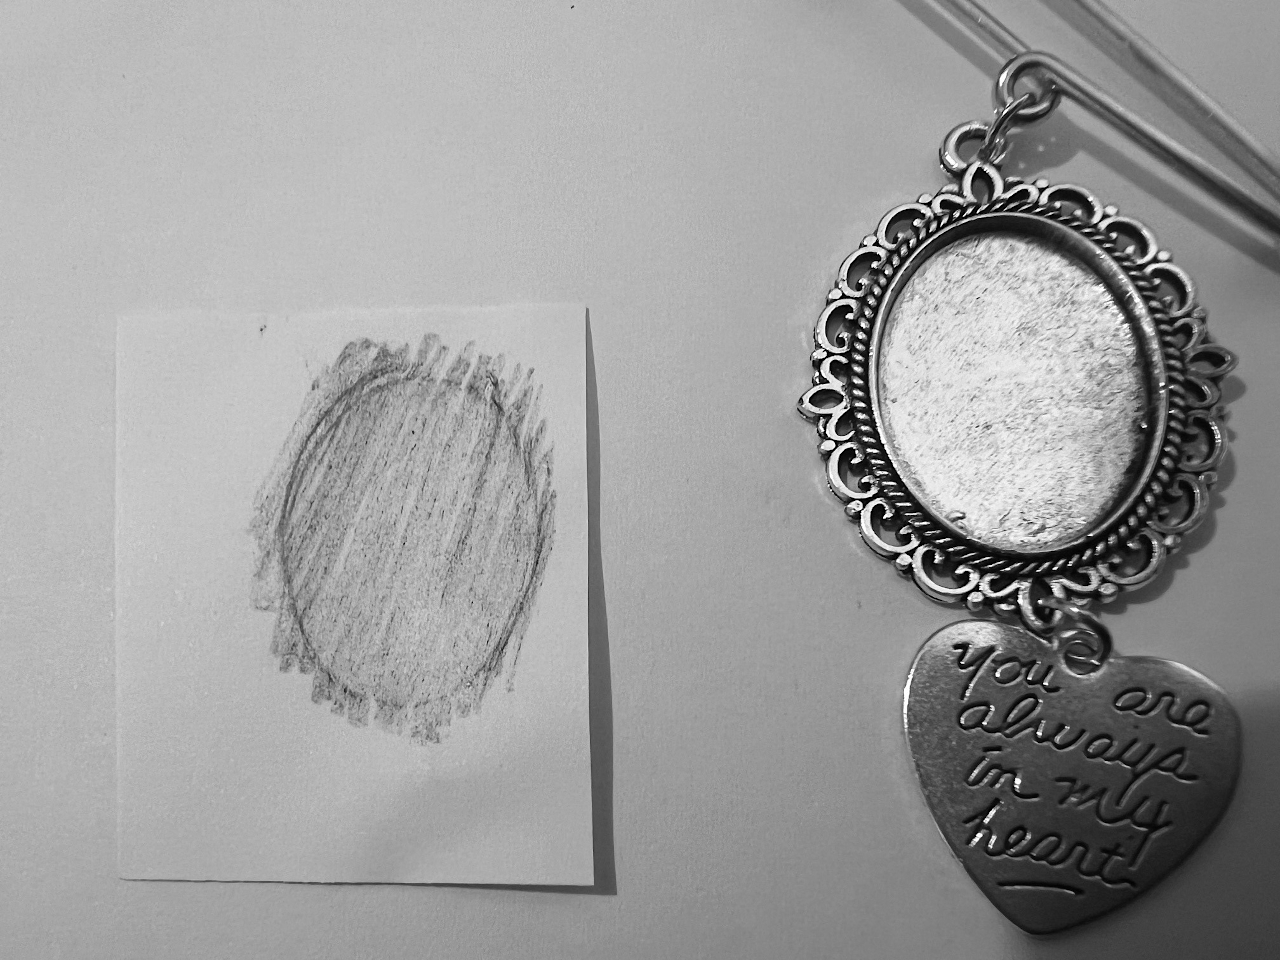
Cut out the template to ensure you have the exact size and shape for tracing your photo.
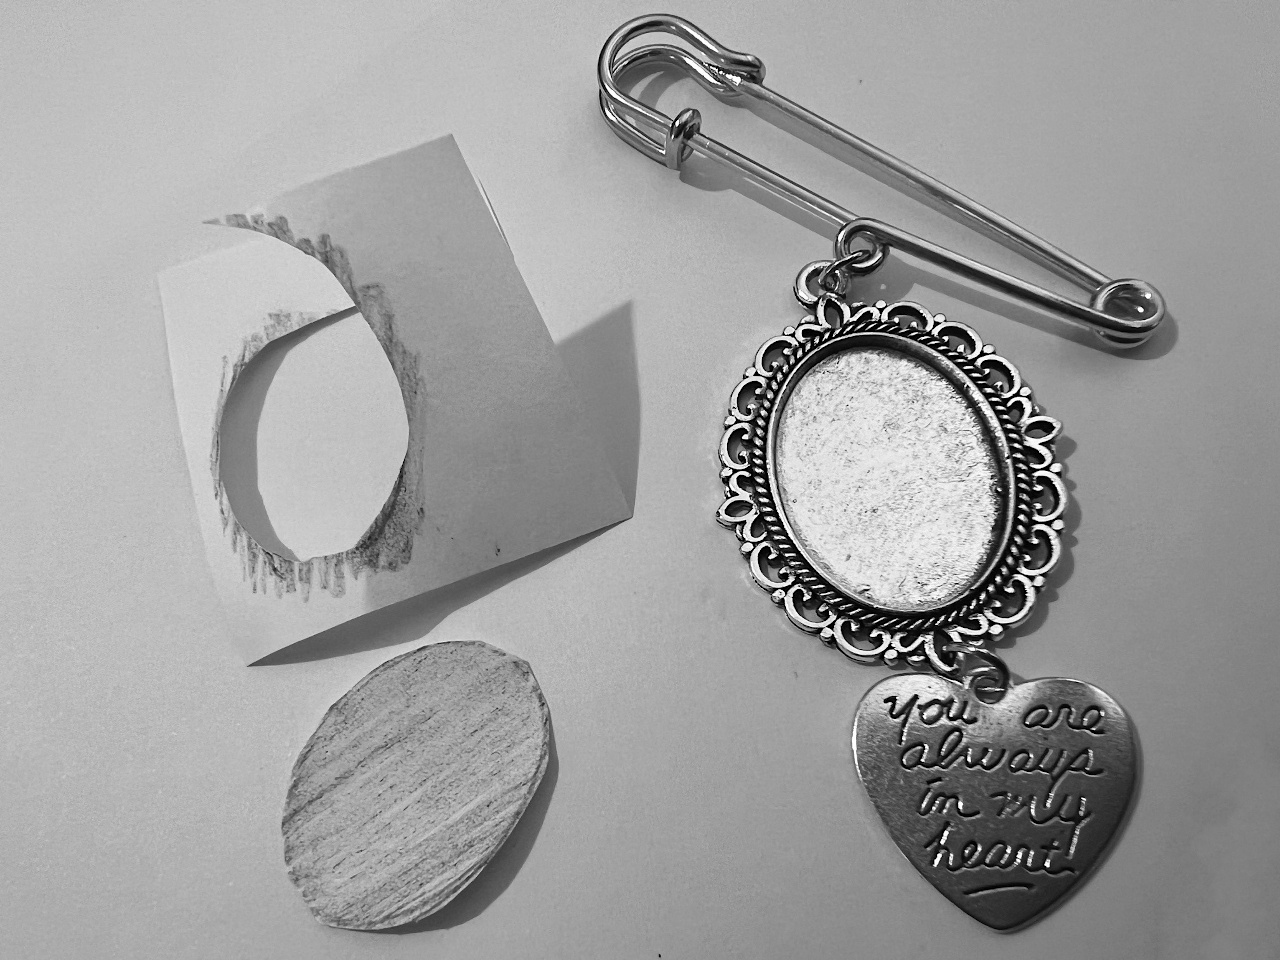
Now, place the template over your photo and trace around it to mark where you need to cut. Use scissors to carefully cut each photo to the correct size.
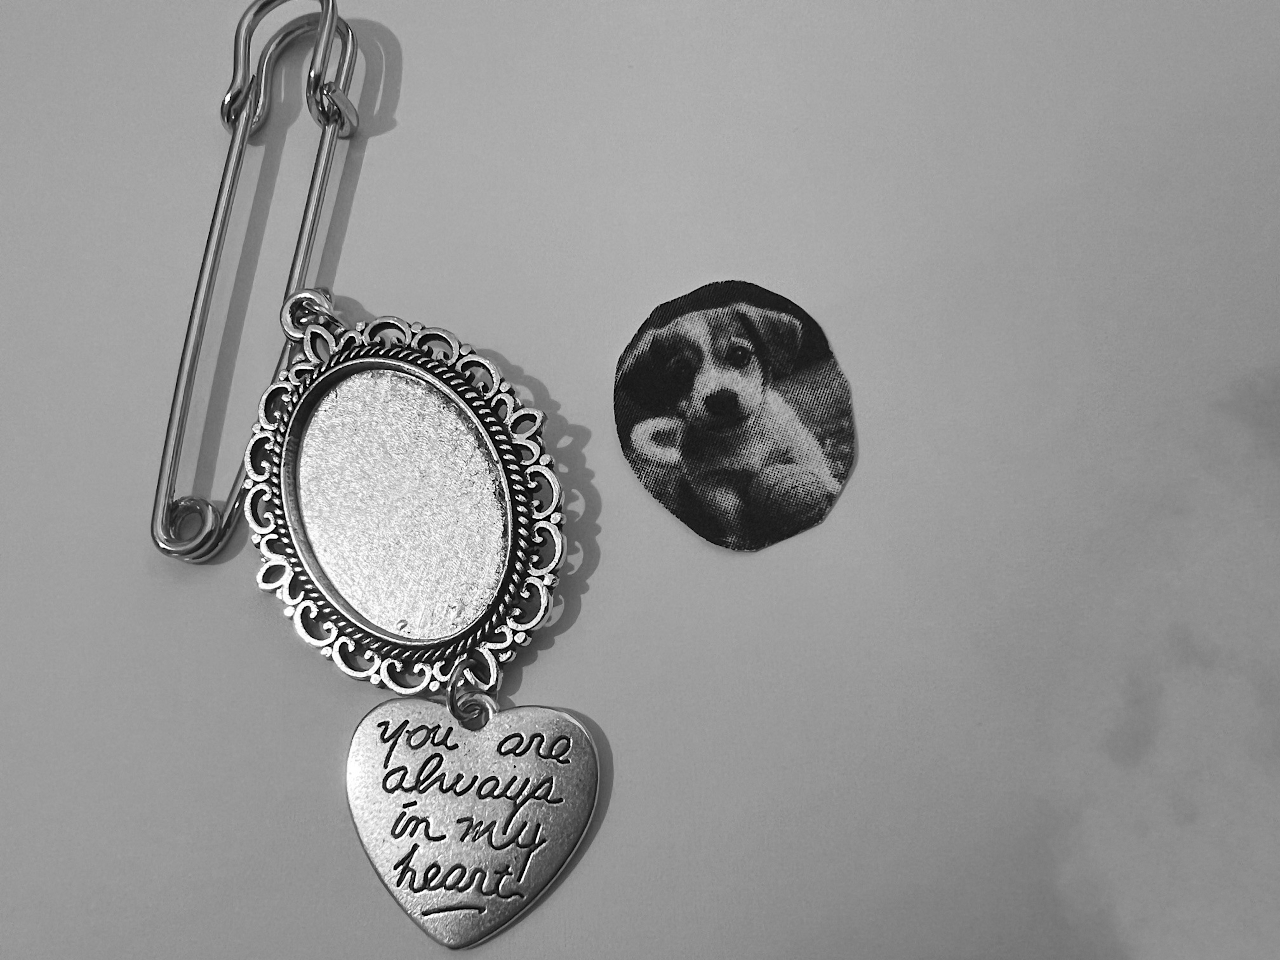
Once your photos are cut to size, they are ready to be placed into the frames. You will need a photo adhesive or clear glue to secure your photos.
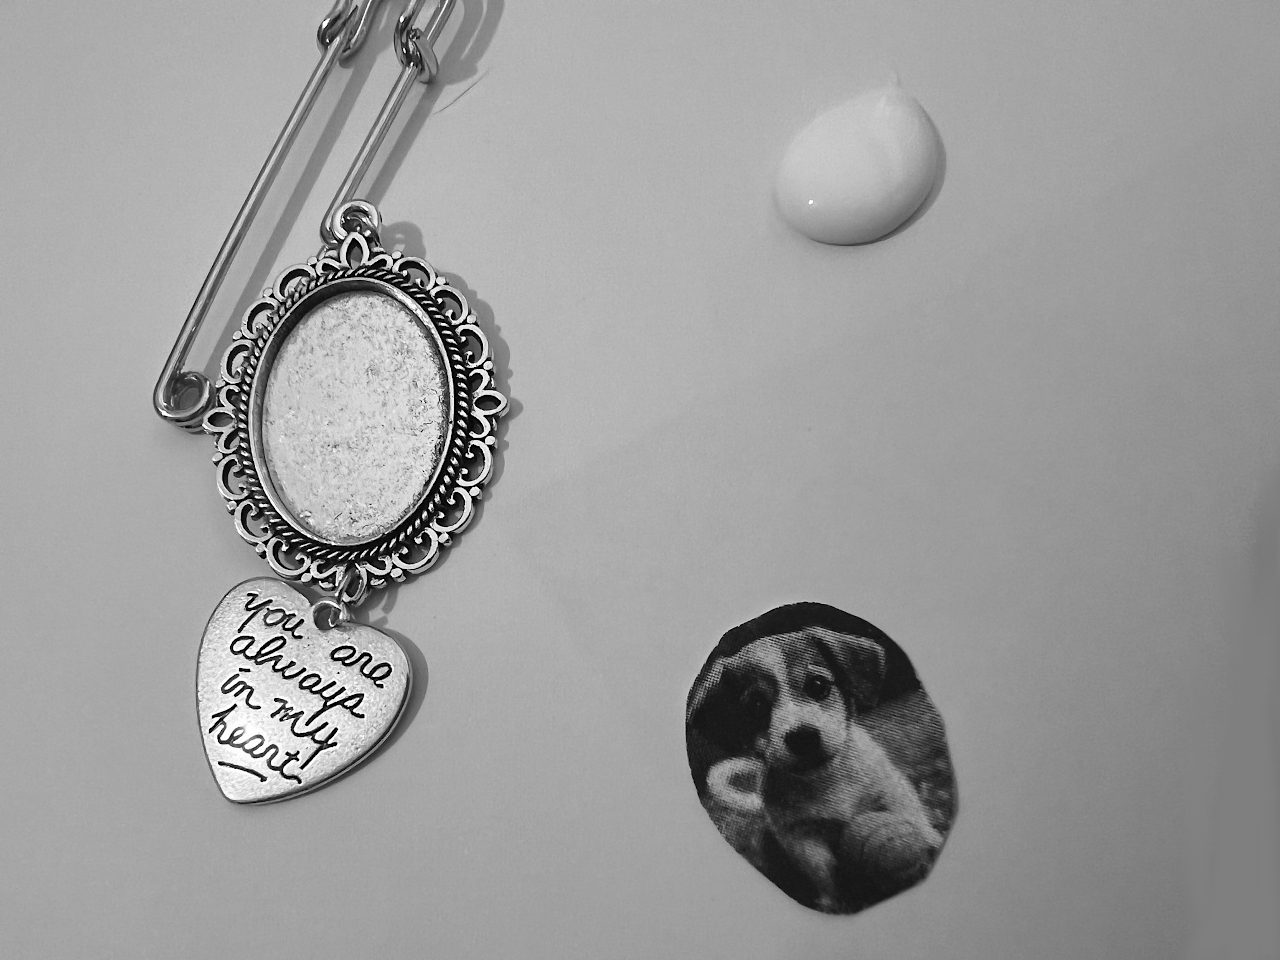
Apply a thin layer of glue onto the charm to prepare it for attaching your photo.
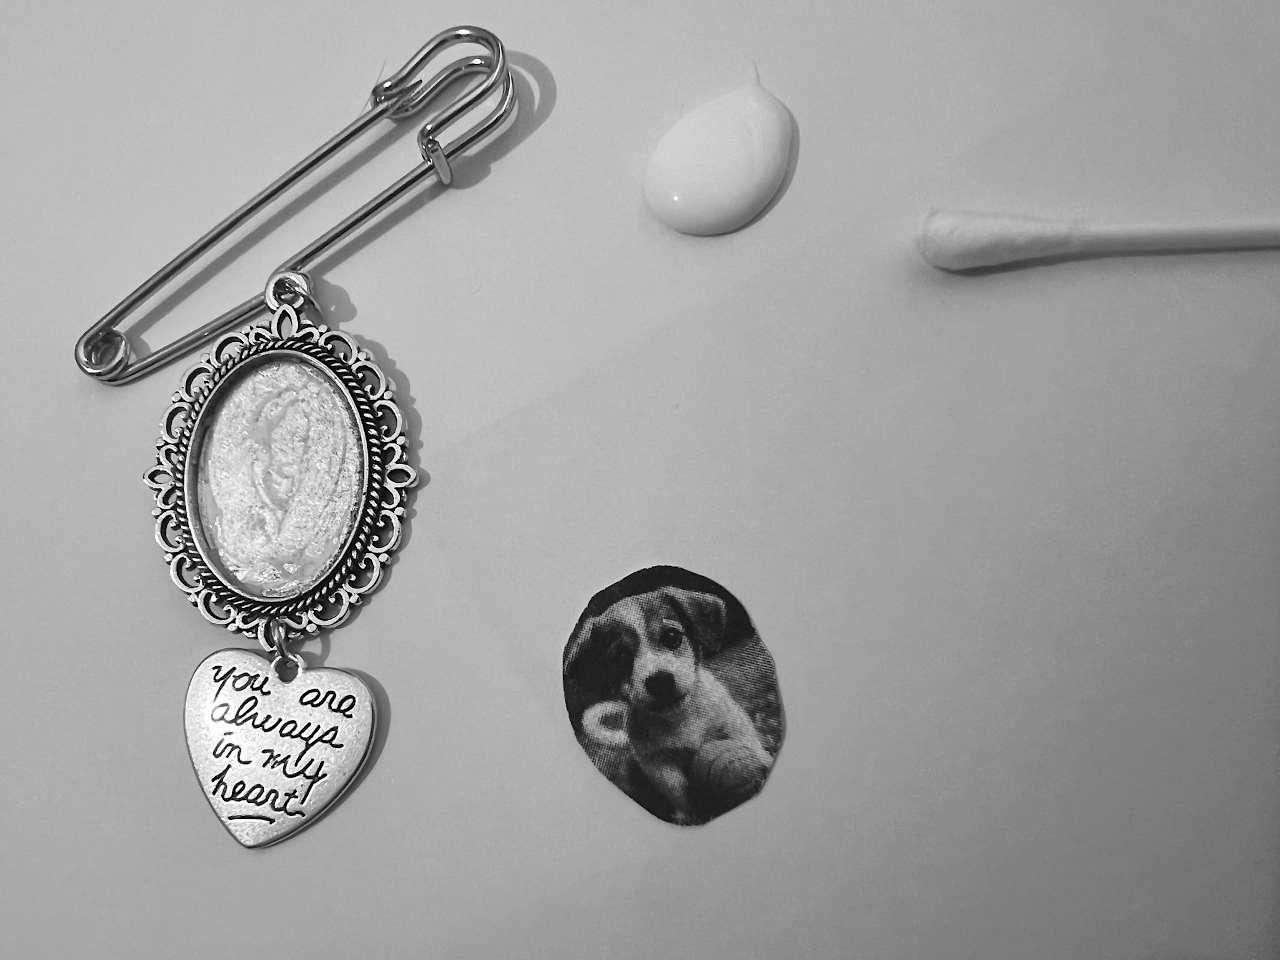
Ensure each photo is centered and properly aligned before pressing down to affix it securely.
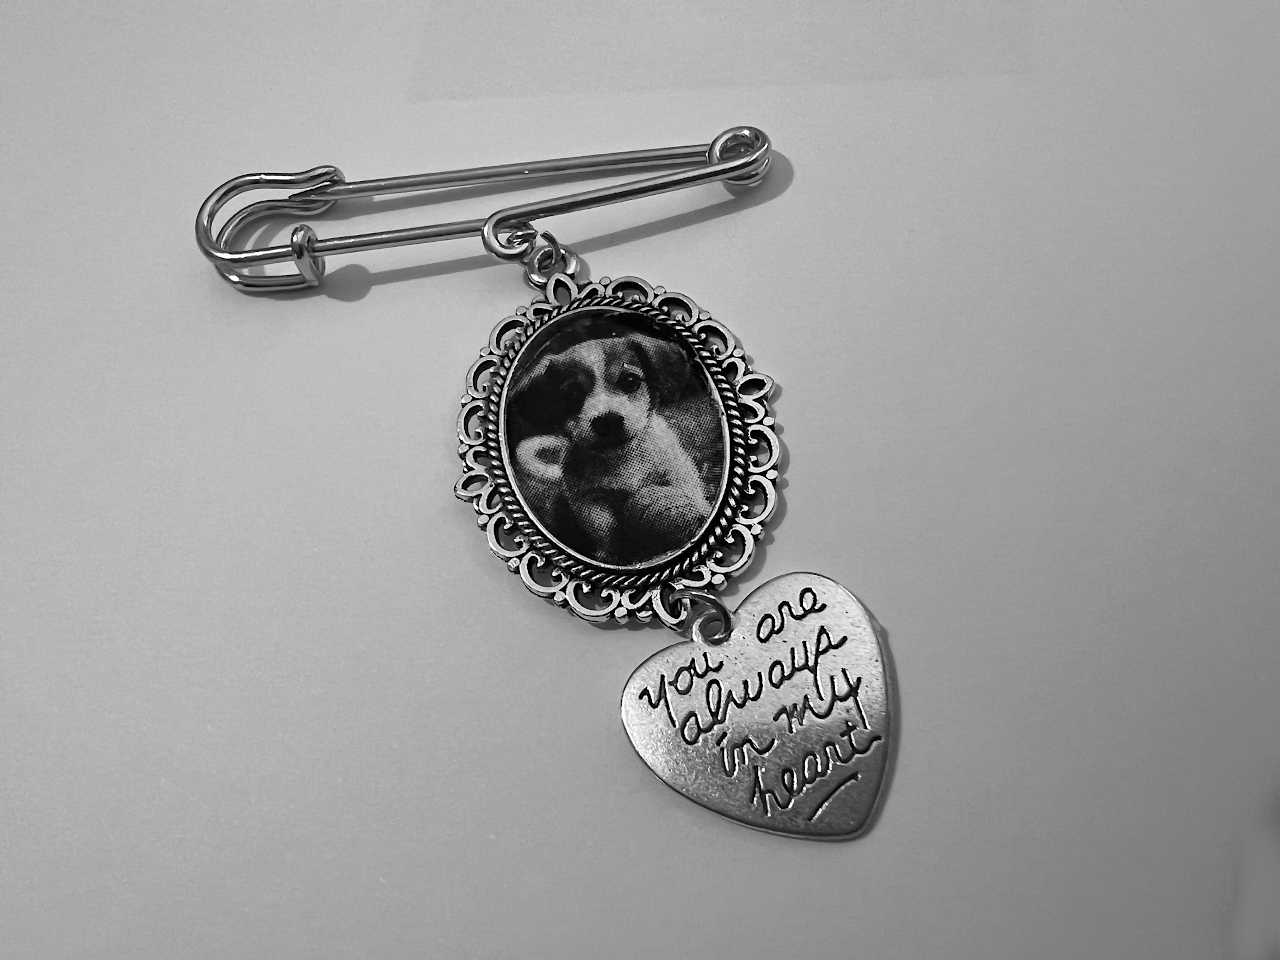
It is time to prepare the glass to place over the photograph.
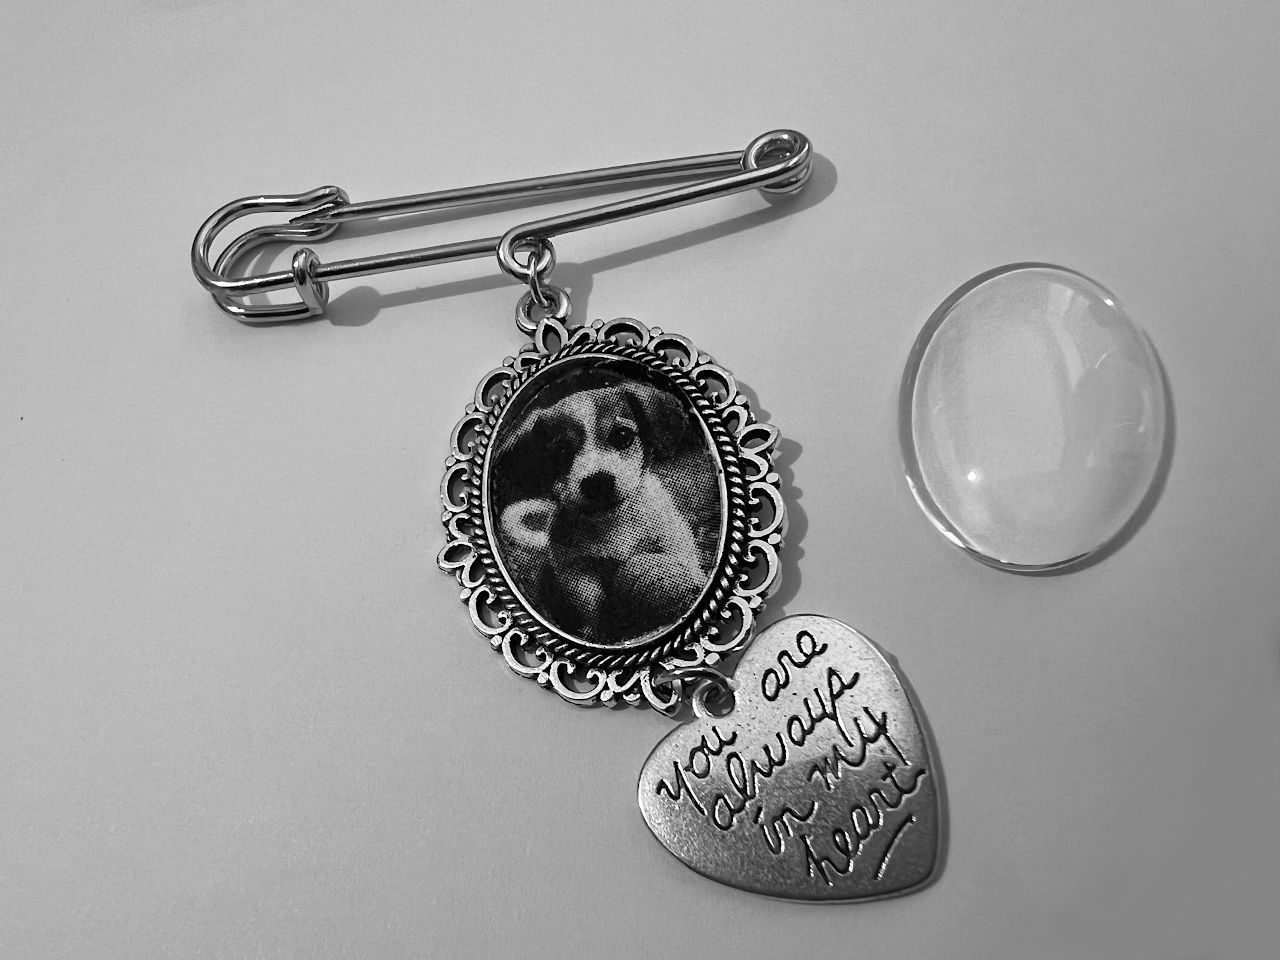
Apply a thin layer of clear-drying glue around the edge of the glass cover.
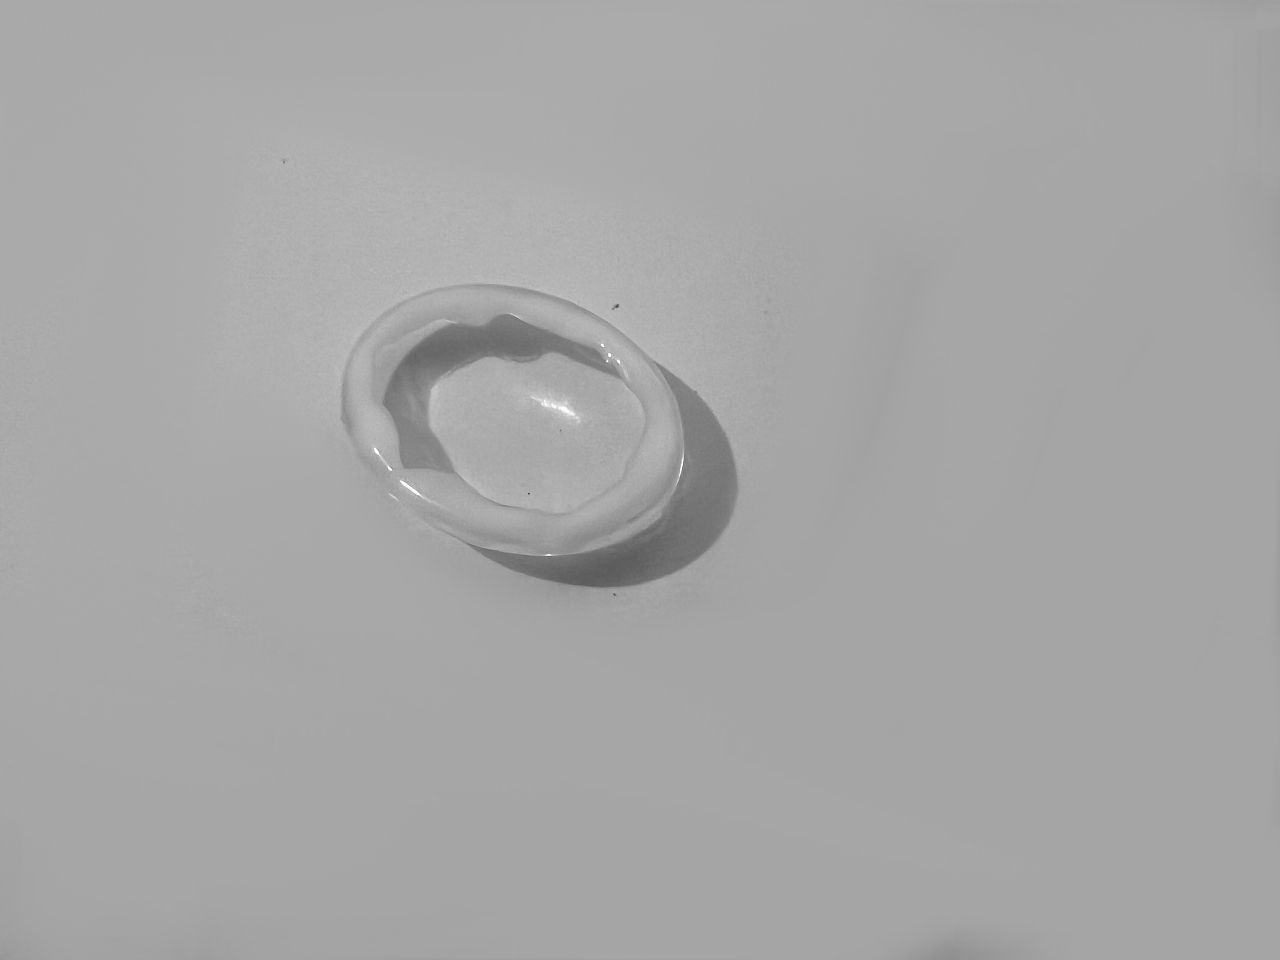
Press the glass cover firmly over the photograph inside the charm and allow the glue to dry.
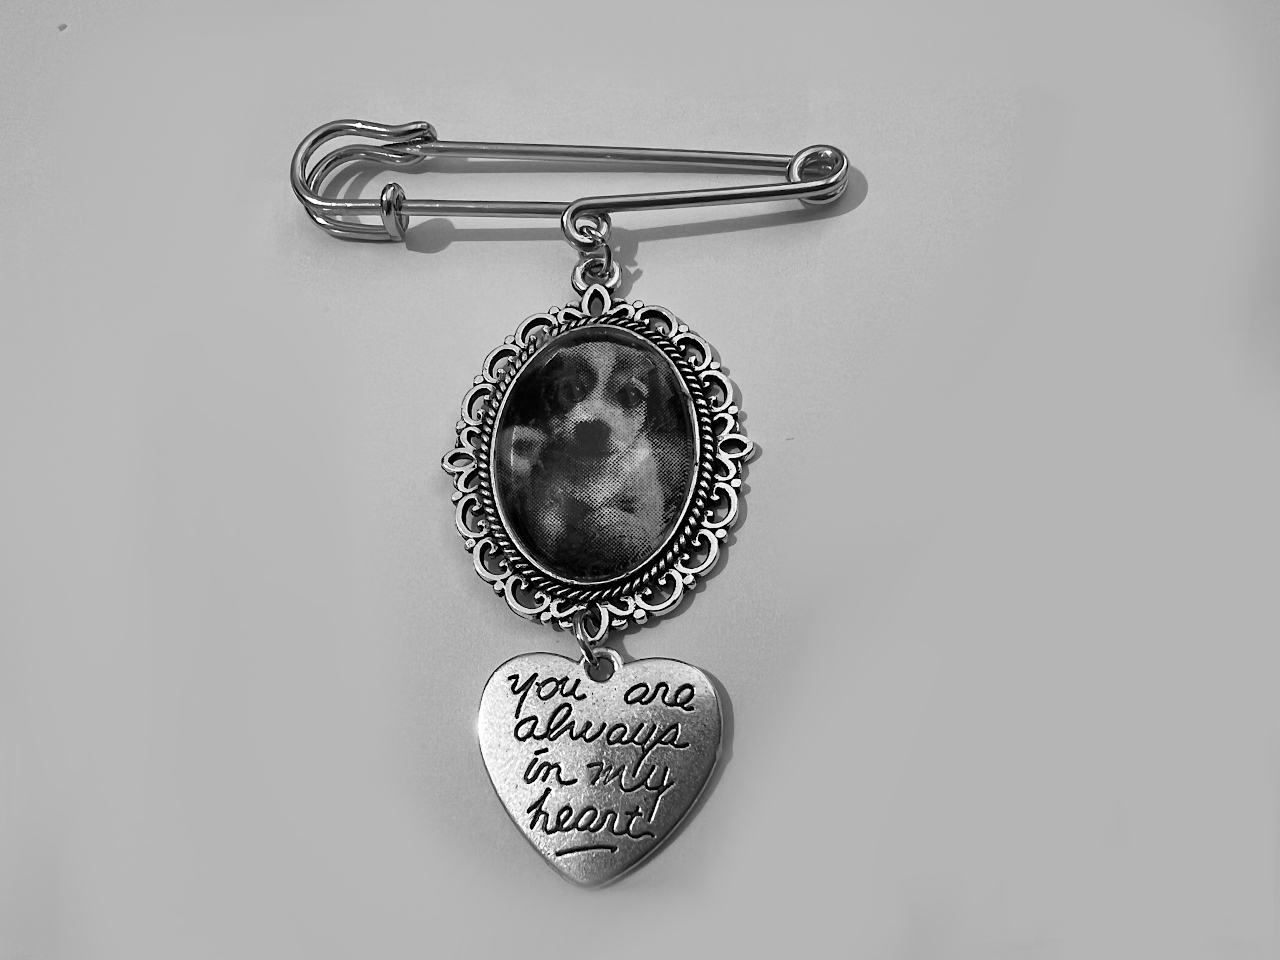
Your memorial charm is now ready to be attached to your bridal bouquet.
